After spending some time with the Nikon D7200, I found that there were a few settings I wanted to adjust to make the camera work a bit better for my workflow. Here are 5 settings to change on the Nikon D7200.
Set Image Quality to NEF Raw + JPEG
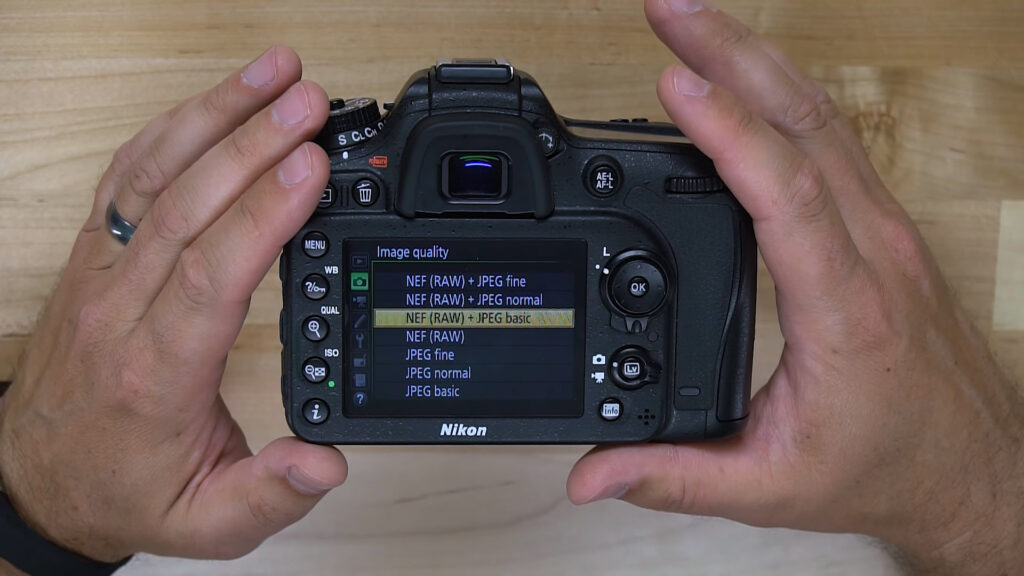
Within the Photo Shooting Menu, scroll to Image quality and select NEF Raw + JPEG
Raw photos will be useful for editing on a computer.
JPEG photos won’t take up a lot of storage space and this filetype is useful for sharing to social media.Auto Focus Settings
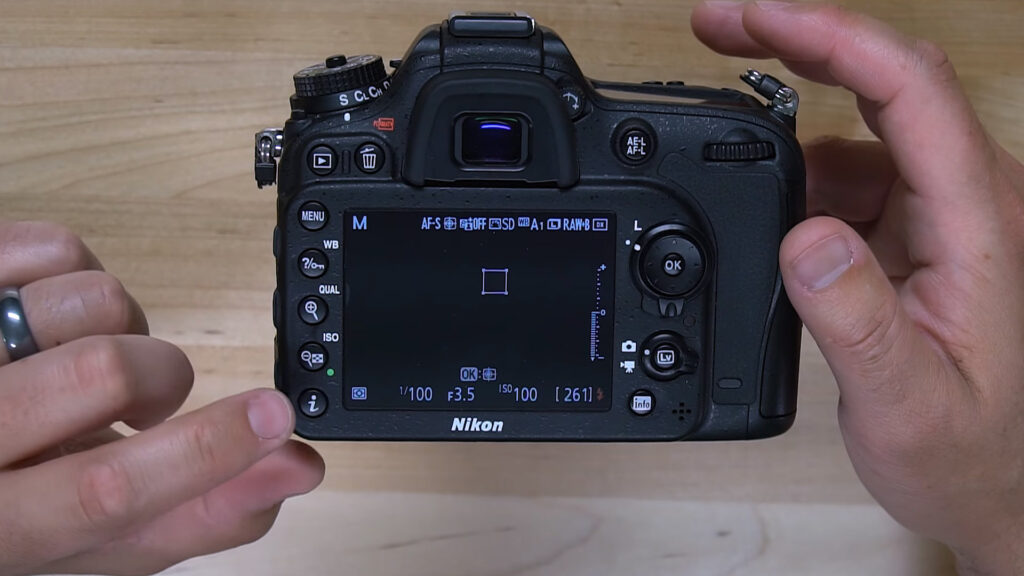
I prefer to shoot in AF-S Servo Modewith Spot Mode selected.
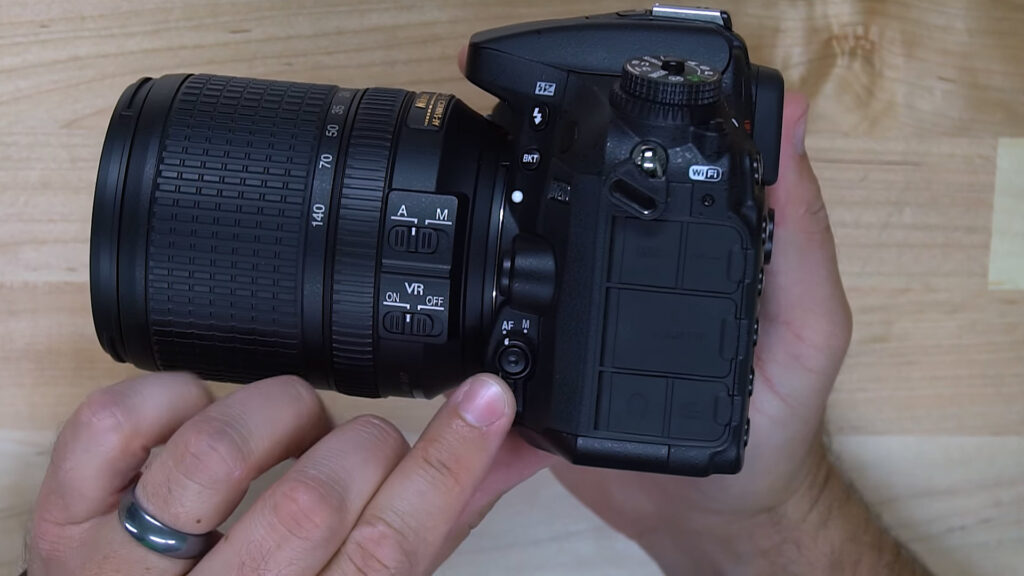
Hold down the button on the side of the camera, next to the Auto/Manual Focus switch, to toggle between different Auto Focus Settings.To activate AF-S: Turn off Live View, look through Viewfinder and hold down the button next to the Focus Mode Switch, and rotate the wheel with your right thumb to select AF-S Mode.AF-S allows the camera to refocus every time you press the shutter button, or in my case, when I press down the “Back Button” focus. This allows the camera to refocus when needed as opposed to AF-A Single Mode, where your camera is only going to focus once.
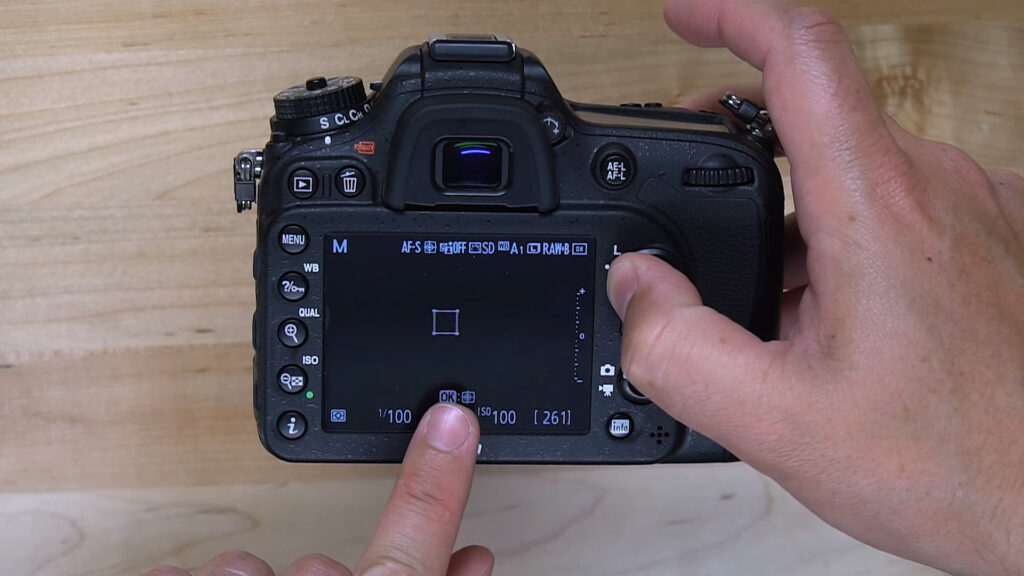
Spot Mode: When you hold down the button next to the Focus Switch and toggle between Auto Focus Modes, rotate the ‘rocker’ on the front of your camera (under the shutter button) and you can then cycle through your Focus Modes: Wide, Normal, Spot, and Portrait. I prefer spot (or point), which will allow you to manually move the ‘focus’ point around.Disable Active D Lighting – If editing your photos
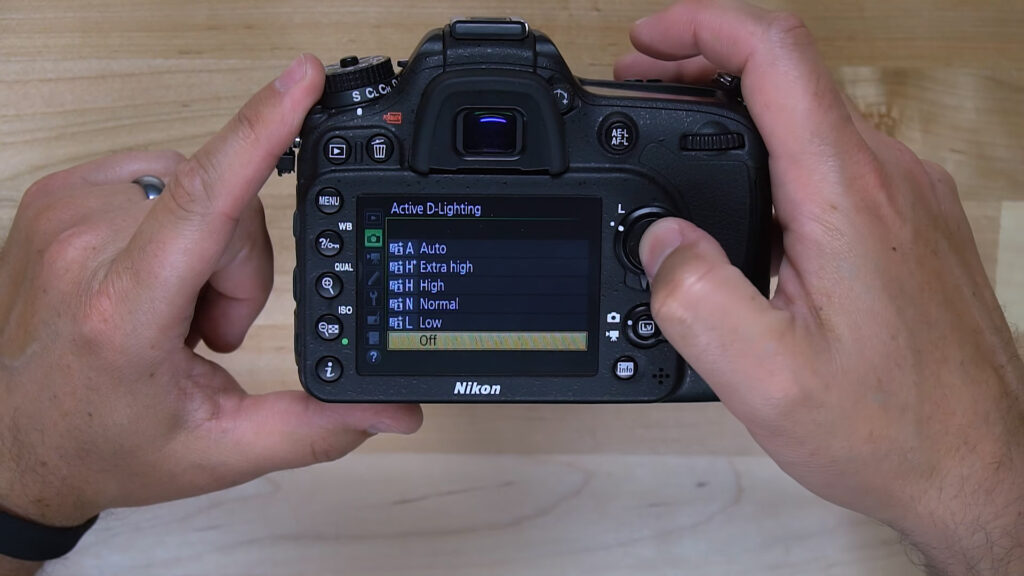
Hold down the ‘i’ button and then toggle down until you find the icon for Active D Lighting. Set it to OFF.Setting this feature to OFF will give you a purer image that has not been internally edited by your camera and will give you greater image control in your photo editing software. You can also access this setting in your “Photo Shooting Menu.”Turn Off Beep
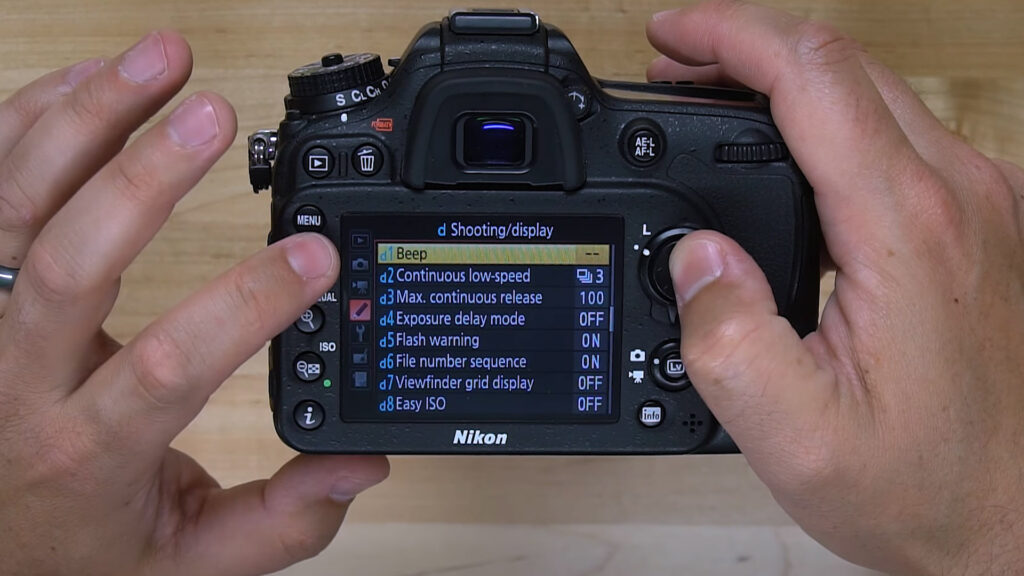
If you’re working professionally, there is no need to have a distracting Beep sound throughout the job. There are visual displays already on the camera to inform you that an item is in focus, such as the green indicator light within the viewfinder, or the green box displayed within the Live View display.To access this setting, go into the Custom Settings Menu – Shooting/Display – Under d1, choose Beep, and set the Volume to OFF.
Video Settings
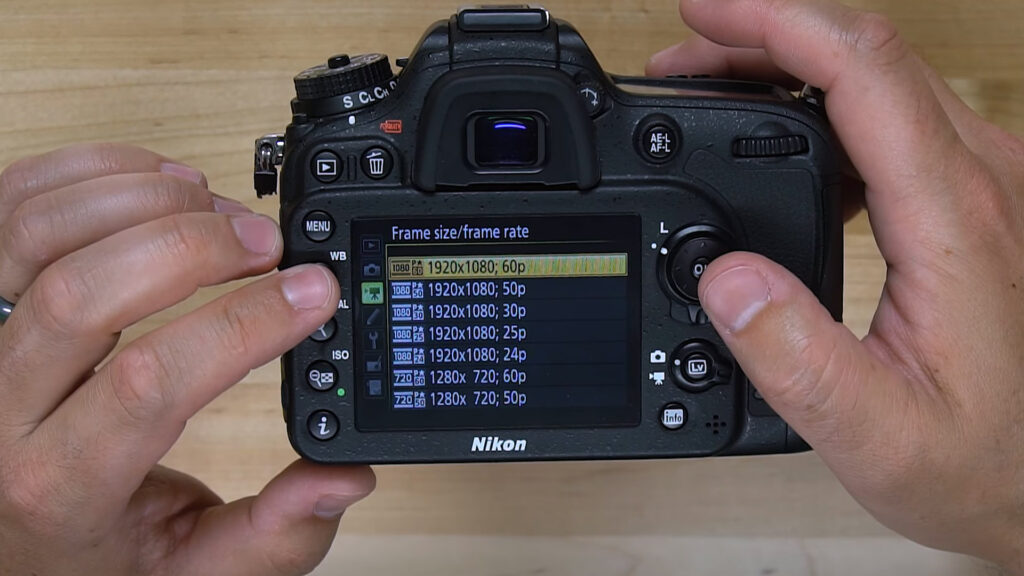
Go into the Movie Shooting Menu and ensure the Resolution and Frame Rate are where you want them.For Action, select 1920×1080 60p
For non-Action, and a more cinematic look, select 1920×1080 24p
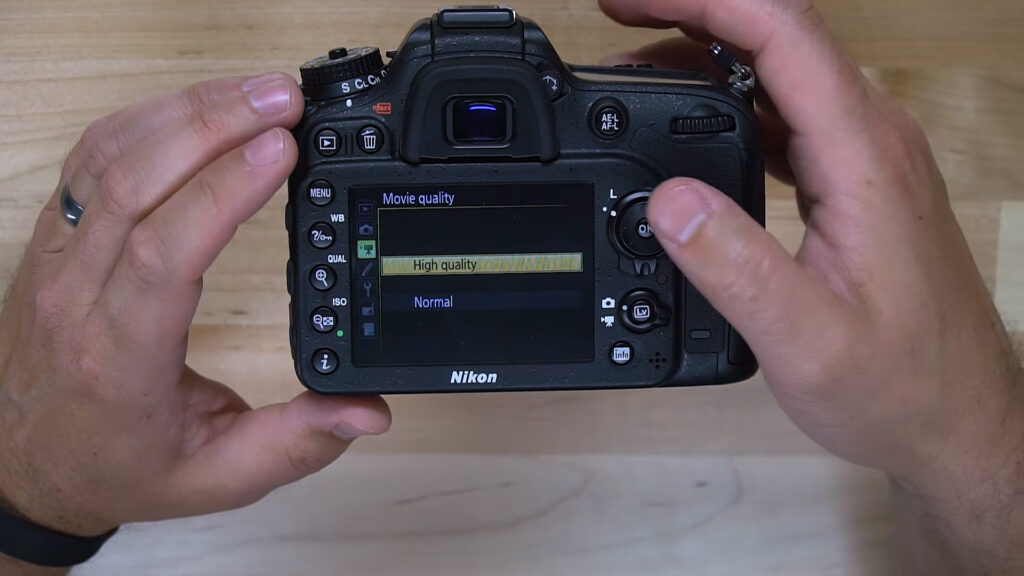
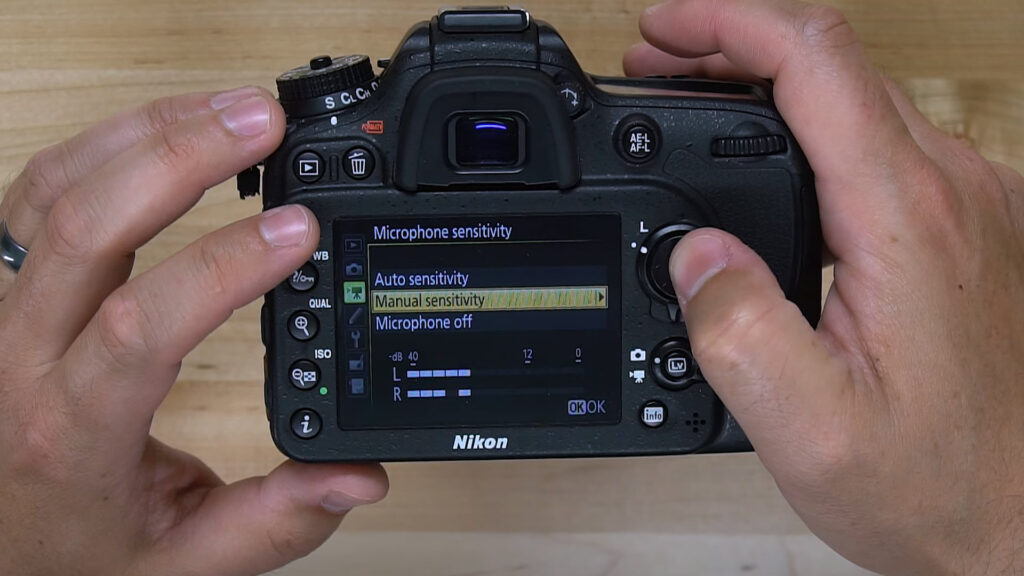
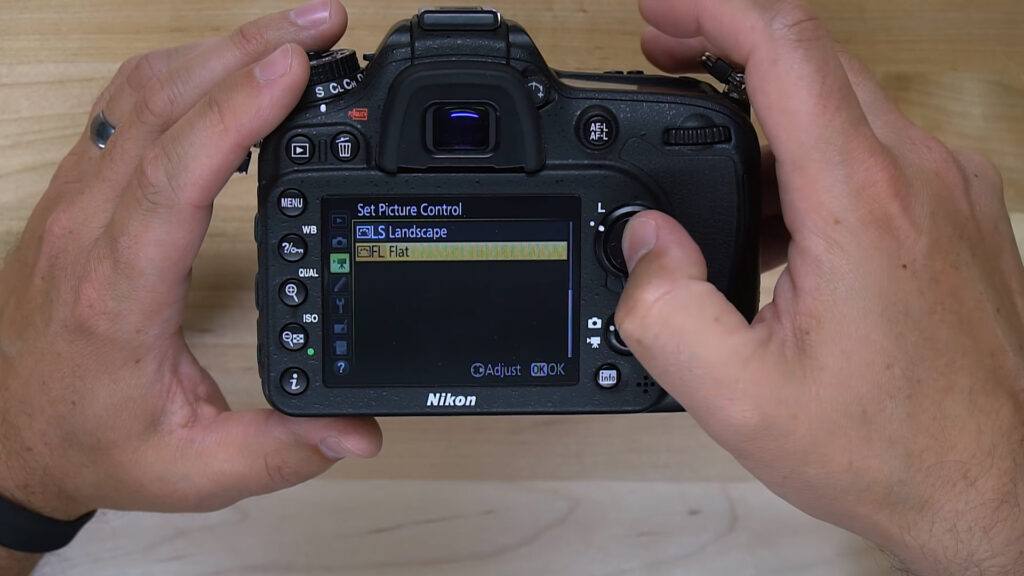
Movie Quality: Always select High QualityMicrophone Sensitivity Always select Manual Sensitivity’ rather than ‘Auto Sensitivity’ when using the onboard mic or an external mic.Picture Control
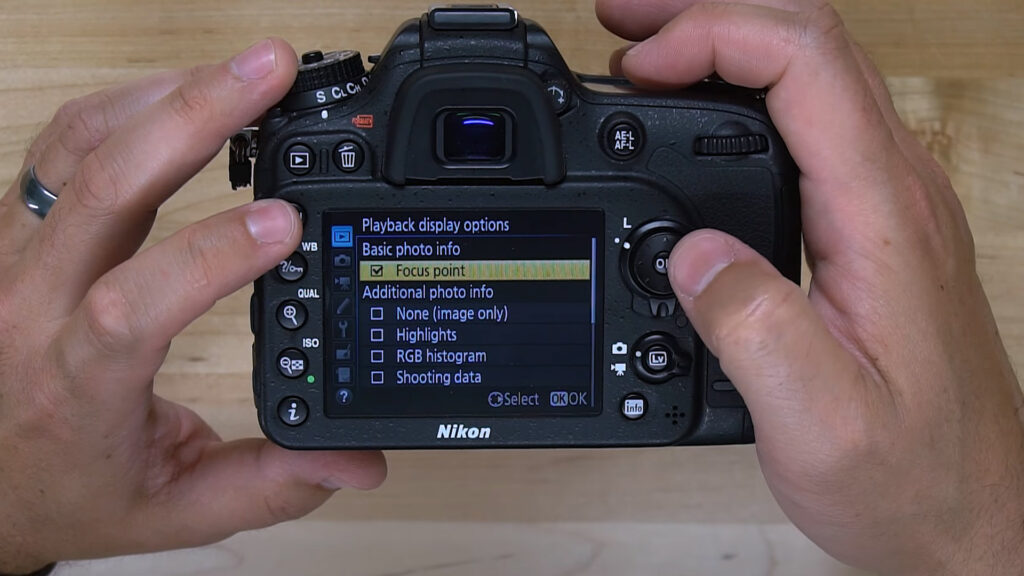
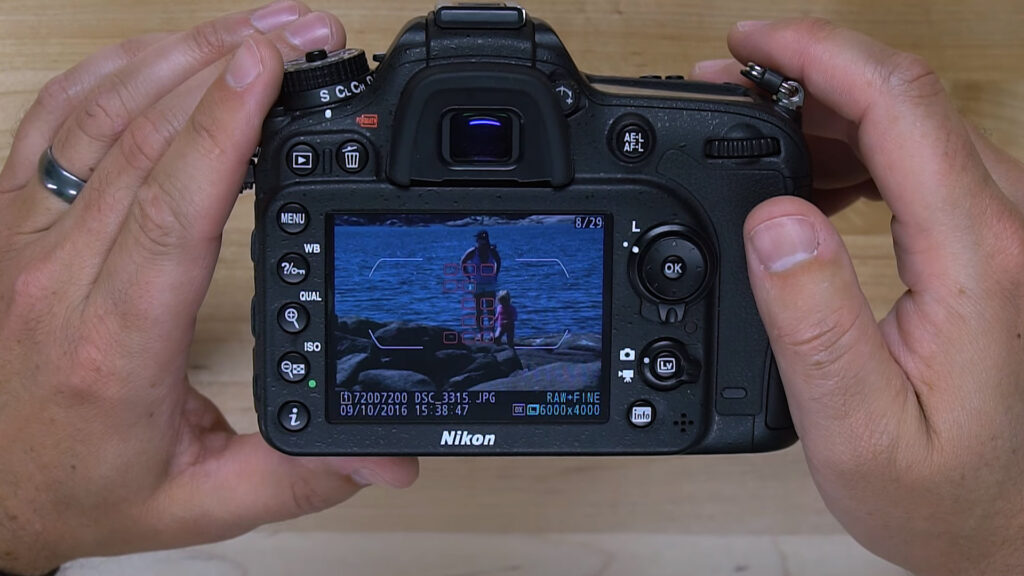
Selecting the Flat option, located at the bottom of the list, will give you the most flexibility in color correction when editing your footage later.Check the Focus accuracy of your Photos by using Focus Point in PlaybackGo to the Playback Menu, select Playback Display Options and then select Focus Point.This will display the AF points that were active when the photo was taken. This will help guide you in scenarios where there isn’t a lot of time to check your photos properly. Alternatively you can zoom in with the Magnifying Glass button.
Products Mentioned:
Nikon D7200 Body Only on Amazon: http://amzn.to/2iQSFUP
Get the Nikon D7200 Kit on Amazon: http://amzn.to/2iMFqSN

