I recently had an awesome opportunity to work with the Canon EOS R6 and I have to admit, I was very impressed with the quality of photos and video this camera captured. Now, if you just purchased an R6, or if you’ve had it for a while and are hoping to maximize its potential, there are a few settings you’ll want to adjust. These quick setting changes will take your camera from decent to fantastic. If you’re looking for more of a deep dive into the R6 and its various components, check out my Canon EOS R6 Fast Start Guide.
Setting the Date and Time
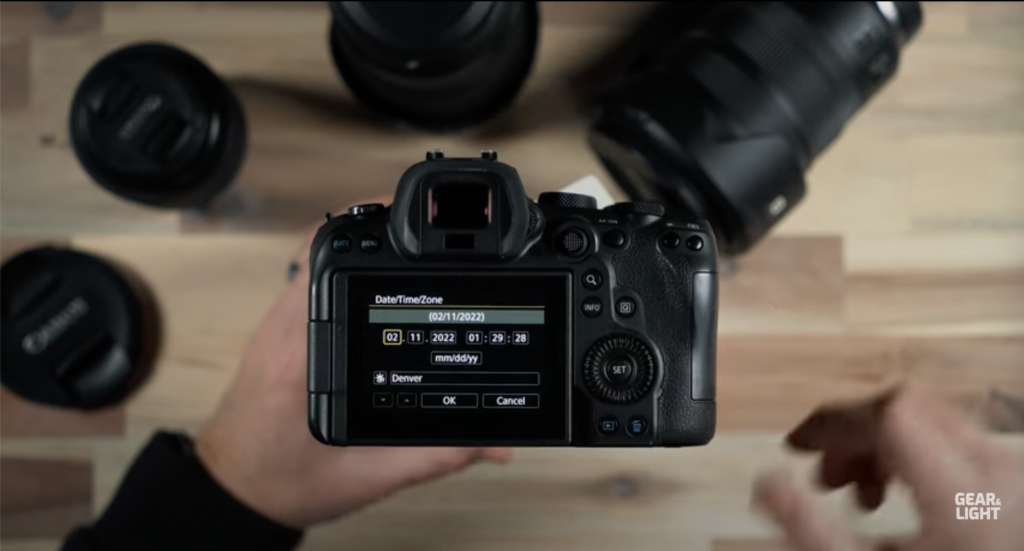
The first thing that I always do when I first get a camera is make sure that my date and time are set correctly. A lot of people skip this step because they think it doesn’t matter. Who uses their camera to check the time right? In reality, setting the date and time is crucial to making sure that all of your photos and videos are organized correctly when you go to upload them to your computer later. If you have the date and time right, it makes the organization process very simple. If you don’t have the time and date set and have taken hundreds or thousands of pictures, it’s going to be very difficult to find the specific shots you’re looking for. To set the date and time, click the menu button in the top left corner of the back of the camera, click the wrench icon, and then click the date/time/zone button.
Formatting Your Cards
The second thing I do when I first turn on my camera is reformat whatever SD cards I’m using with the camera itself. This is a crucial step before your first shoot because it ensures that your camera and your SD cards are playing nice together. If you skip this step, it’s possible that you’ll end up with damage or corrupt files. To format your cards, look a few buttons up from the date and time button for the “format card” button. It’s important to note that formatting your cards will erase anything on them, so make sure you back up whatever footage you have on them first, otherwise you’ll lose it all.
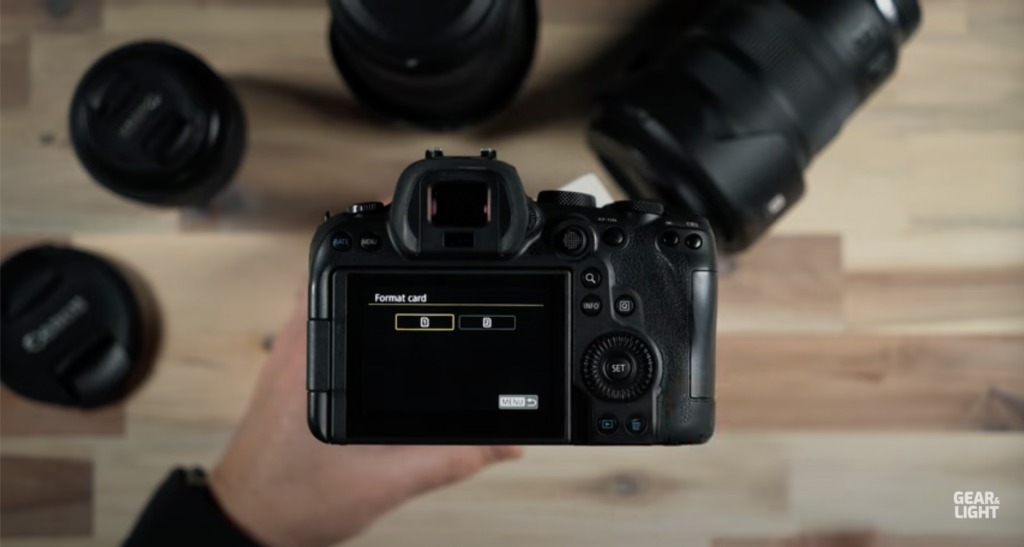
Image Quality
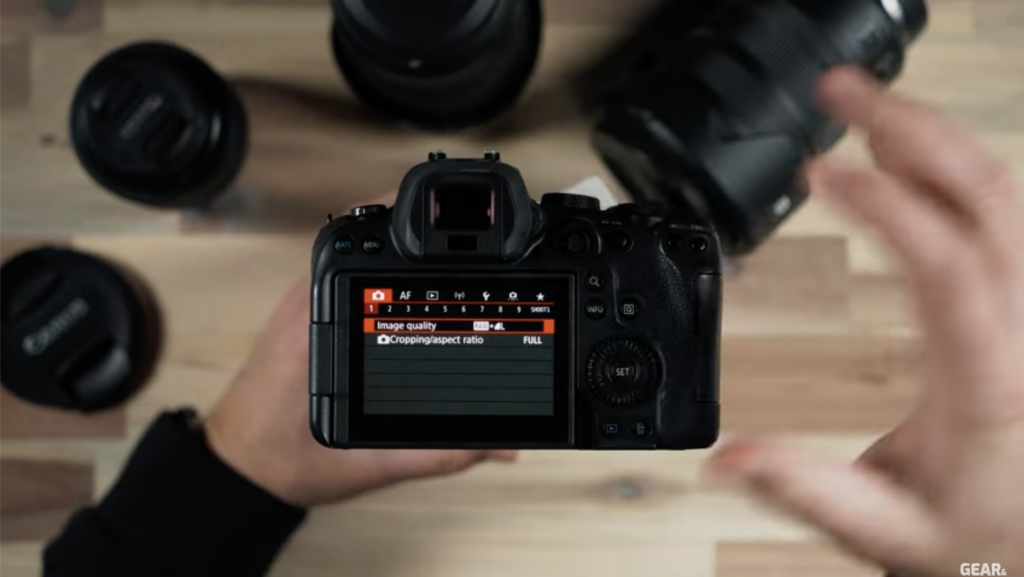
Now, let’s look at some settings that will make a world of difference in giving you the greatest possible image quality. To get to the image quality settings, open your menu and hit the camera button in the top left corner. Now, press the image quality button and select RAW. RAW images are much bigger files, but they’ll give you significantly more image data to work with when it comes to editing your photos. If want the maximum amount of data and flexibility when you’re editing your photos, you need to be in RAW. I personally choose to also capture JPEG’s as well, just as a backup. If you have two SD cards, you can set one of them to capture RAW and the other to capture JPEG.
Movie Rec Quality
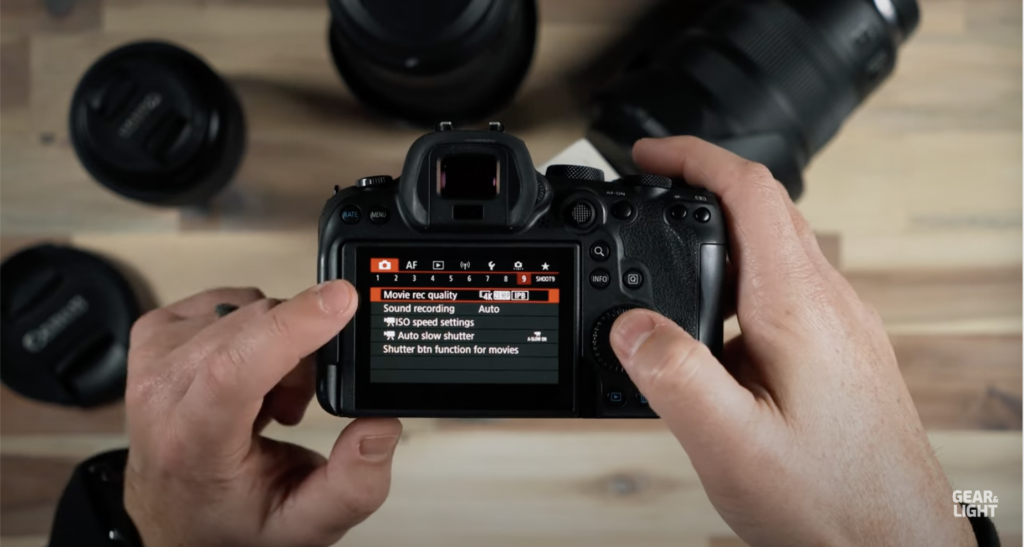
The next big setting to adjust is in the 9th menu under the camera icon. I almost always keep my video record quality set to record in 4k at 23.98fps. This is going to give me the highest quality of video in a frame rate that looks the most natural to the human eye.
ISO Speed Settings
I like to set a maximum ISO under the ISO speed settings option. If you’re shooting video in an automatic mode, this maximum will stop your camera from increasing the ISO too much. If you crank the ISO too high your video will look noisy and grainy. The default is set at 25,600, which I find to be way too high. I would suggest that you change the maximum ISO to around 5,000 instead.
Autofocus Settings
Now, let’s tap on the autofocus menu, (AF,) and go over a few things in this section. By default, your AF operation is set to one shot. Let’s switch this to SERVO AF. Essentially what this does is it allows your camera to continually look for focus while you’re holding the shutter button down. One shot will only allow your camera to look for focus once. SERVO helps a lot when you’re shooting in an environment where there are a lot of things moving and you need your camera to work harder to hold focus correctly.
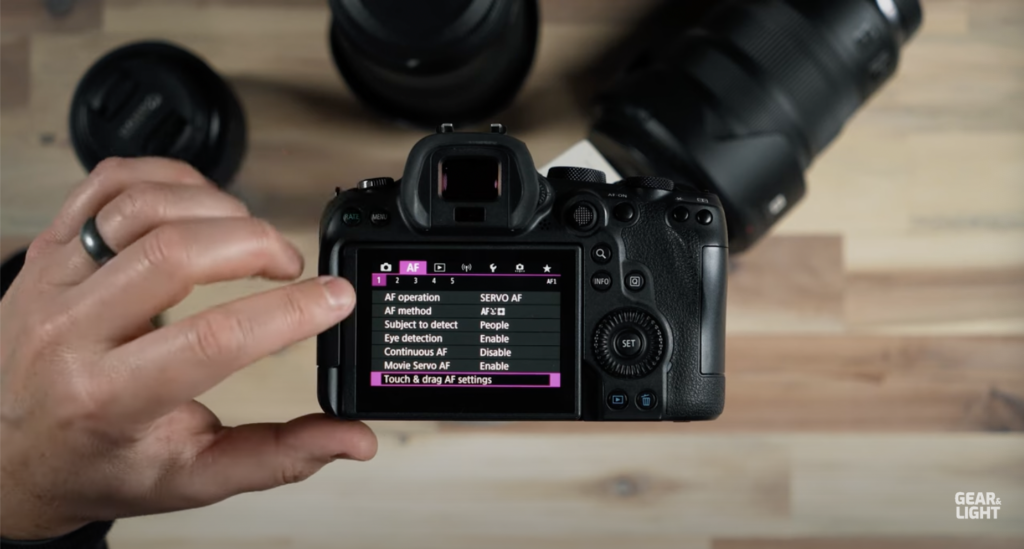
If you want your camera look for focus, even when you’re not holding the shutter button down, you can also enable the continuous AF option a few buttons down. This will allow your camera to constantly look for focus, even without you telling it to. This option will take a bit of a toll on your camera’s battery life though, as your camera will be constantly calculating and adjusting focus.
Lastly, make sure that the Movie Servo AF option is enabled as well. This will allow your camera to adjust auto focus on the fly while you’re recording.
Setup Menu
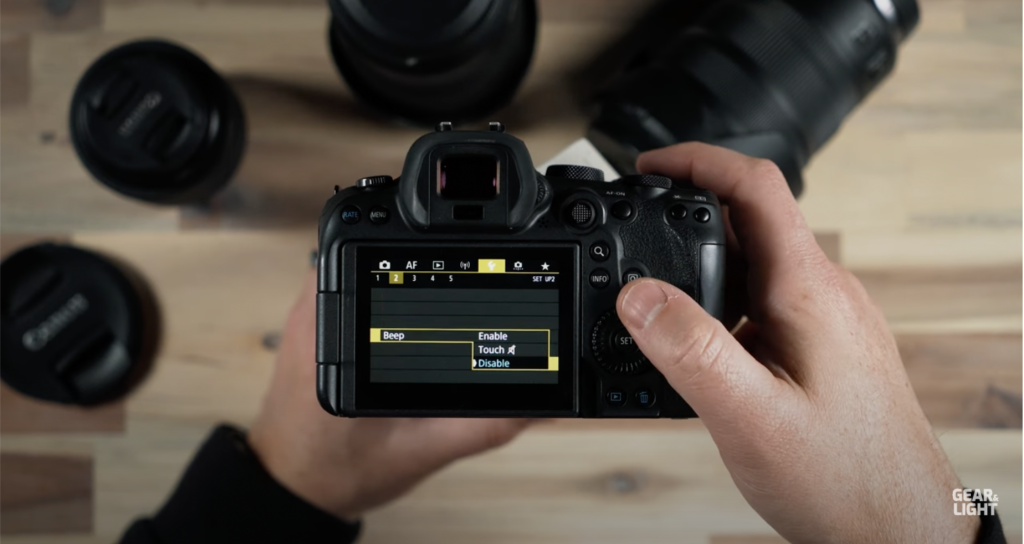
Let’s jump over to the setup menu again, (the wrench icon,) and adjust a few extra things. First, let’s turn off the annoying beep that happens every time your camera achieves focus. Some people like this, but it personally drives me crazy. I used to shoot a lot of weddings and having those beeps turned on would have been incredibly disruptive in the middle of a ceremony. You have a couple of different options here, but I typically disable it all together.
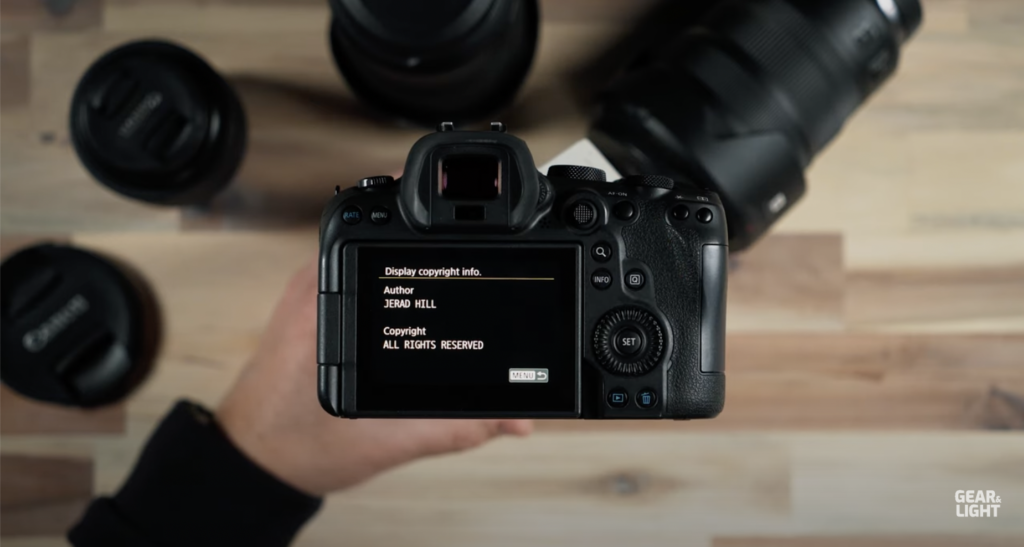
Next, let’s add some copyright information to your photos. The ability to copyright your photos directly from the camera is incredibly convenient. This way, when your photos inevitably end up on the internet, there is specific date written to the photos themselves that gives you ownership over those photos. After pushing the copyright button, add your name under author and “ALL RIGHTS RESERVED” as the copyright.
Under the third page of the wrench menu, you can also customize what functions each of your camera’s buttons have.
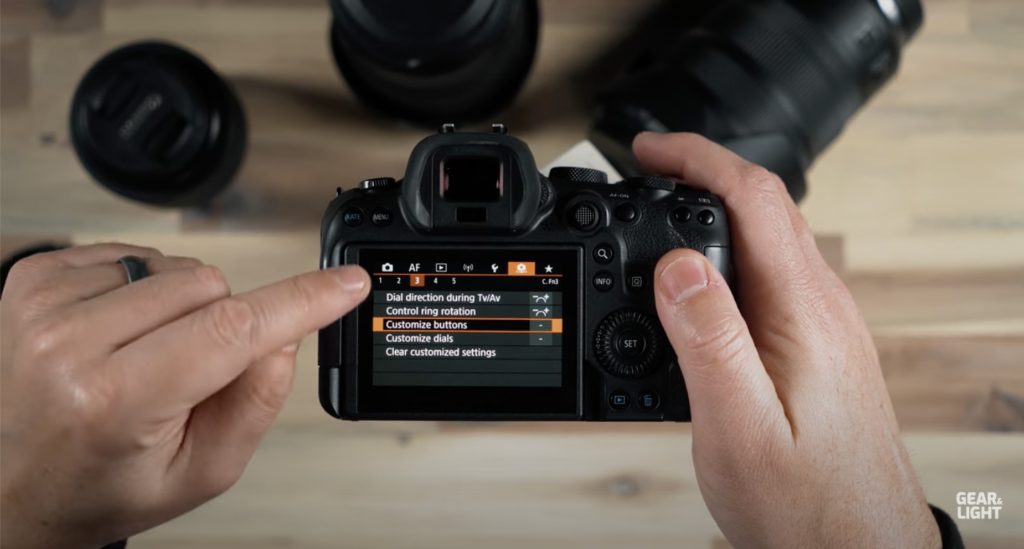
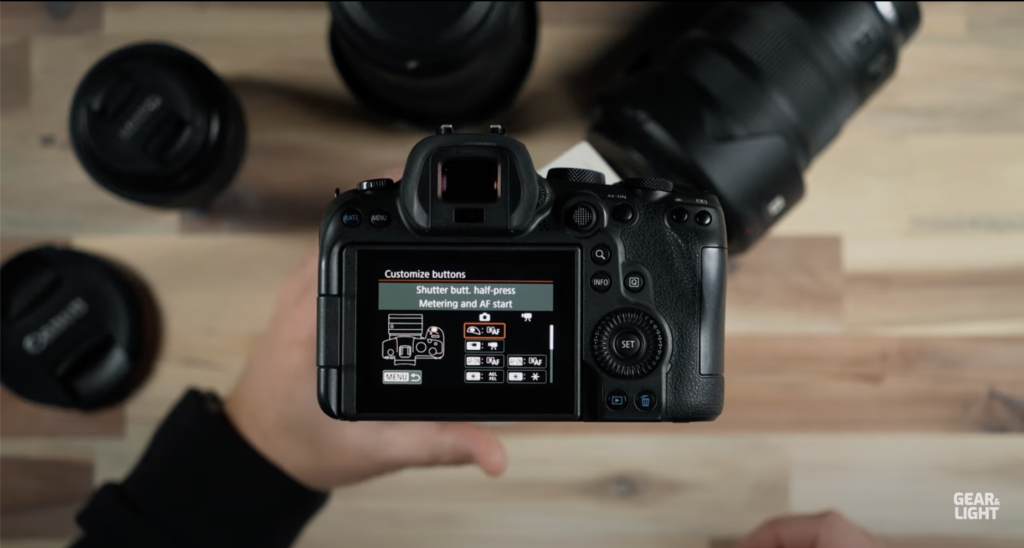
After pushing customize buttons, you’ll see a menu with a list of the buttons on your camera. Select any of those buttons and customize that button with whatever you’d like it to do. These options are vastly up to you and how you’d like for your camera to work. I would suggest finding the buttons that you never use and customizing them to do something that is more effective for you.
Final Thoughts
These simple changes are just a few of the many things you can do to improve your camera experience. For a full tutorial of each setting and how you can use them to improve your experience, make sure to check out my R6 course.
For more Canon R6 content, check out these videos below on the Gear and Light YouTube channel:

