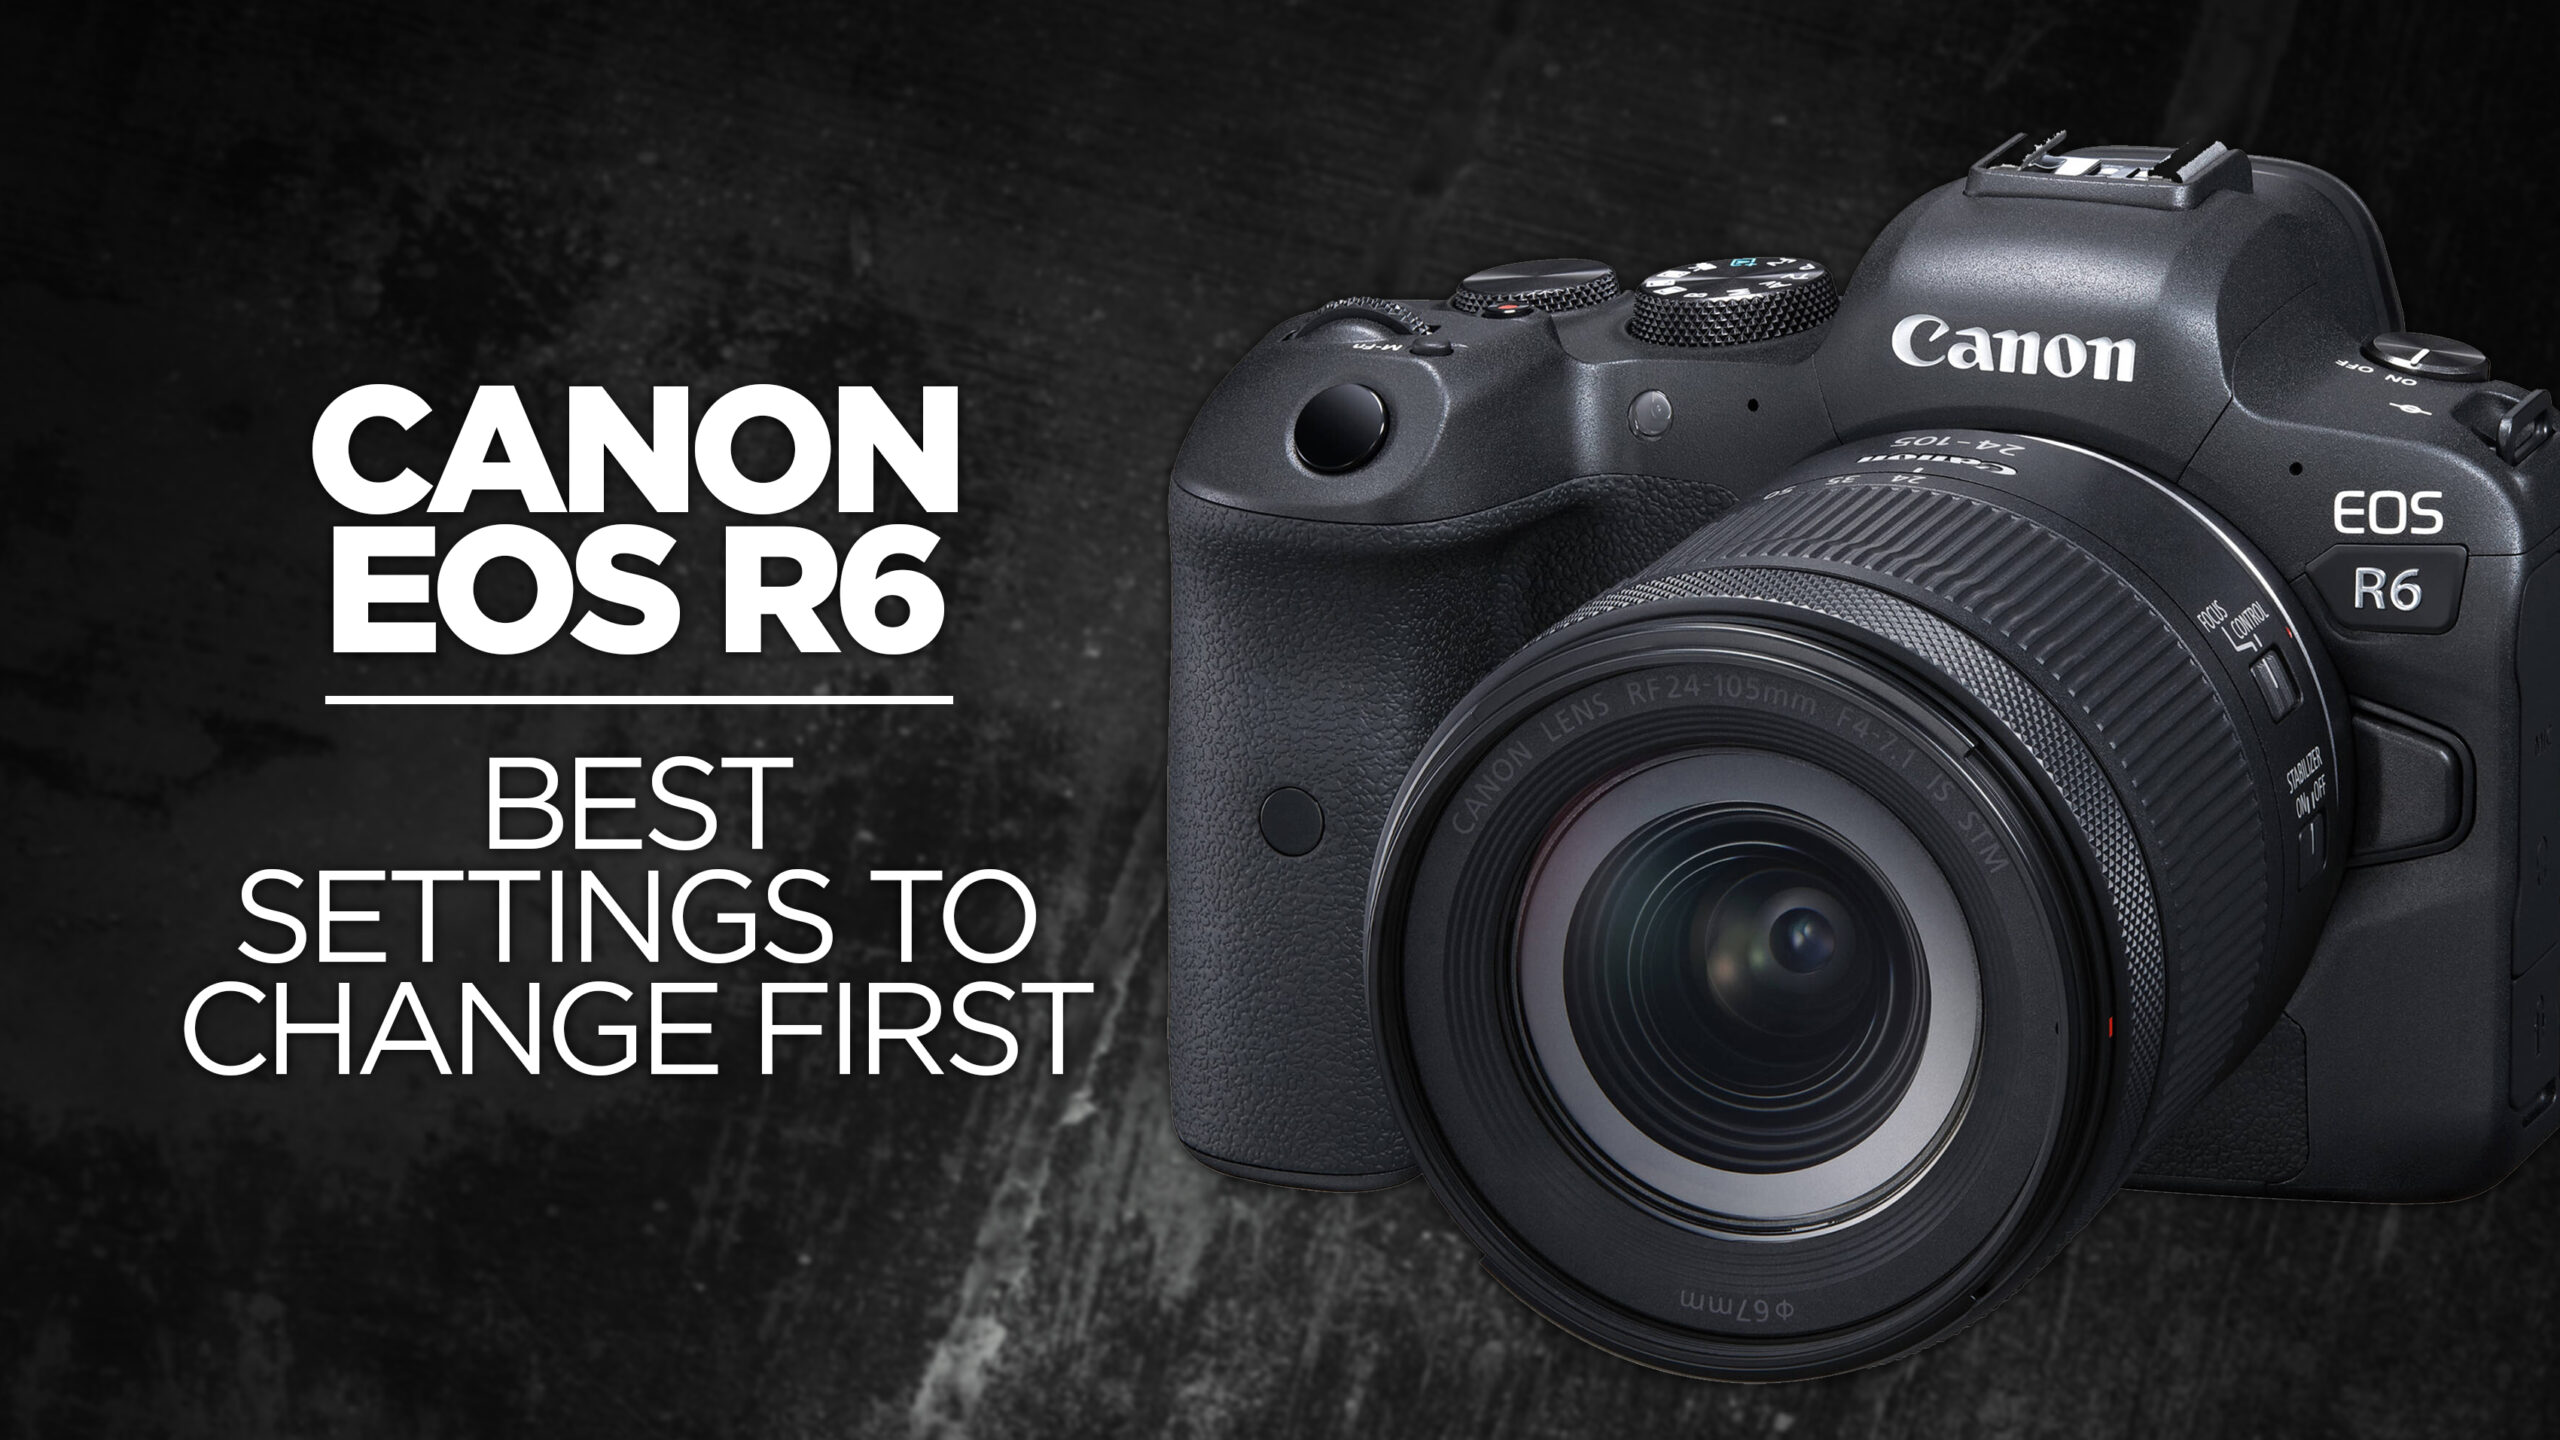
Since this website is about getting out of auto, this post is about learning how to use manual mode on the Canon 80D. The first step to learning to use manual mode is to learn how the controls on the camera work together. This post is about learning the basics of those controls.
If you want to use Manual, the first thing to do is to put your camera into the proper mode, which is indicated by the ‘M’ on the mode wheel.

Terms to be familiar with on the top LCD Screen
Shutter Speed: Indicates the speed of the shutter as it allows light to pass through and hit the sensor.
With a faster or higher number, less light will come in and will result in less blur.
With a slower or lower the number, more light will come in and will result in a greater likelihood of blur.
Aperture: Indicates how wide the lens opens to allow light in to hit the sensor.
ISO: Indicates the sensitivity of the image sensor to the light that is hitting it. The higher the ISO, the more noise your image will have. These days, the ISO is much better than it used to be on many cameras due to better image sensors. This setting will often be adjusted to compensate for poor lighting conditions.

The Controls
The Shutter Speed is adjusted with the rocker switch right behind shutter button. Rotate it to the right for a faster shutter speed, and rotate it to the left for a slower shutter speed. I typically stay between 60 to 250 (technically 1/60 and 1/250) and keep this setting fairly consistent during a shooting session.

The Aperture, or F-Stop, is adjusted with the wheel on the back of the camera. Rotate it right to close down the aperture to let in less light. Rotate it to the left to open up the aperture to let in more light.

The ISO is selected by hitting the ISO button then using the same rocker switch as the shutter speed, to select the ISO setting.
White Balance
The only other major feature to consider in shooting manual apart from Shutter Speed, Aperture, and ISO, is White Balance. Go to the menu and toggle over to White Balance.

This is one of the few settings where I still regularly use Auto option. If you are in an environment where the lighting conditions are changing frequently and you don’t have time to adjust the color temperature, Auto White Balance might be the best option to select.

If you are in a more controlled environment, or you want to ensure complete consistency of the color temperature in all of your photos, then you could switch to a fixed white balance setting either using one of the presets, or manually setting it yourself.
Keep in mind that photo editing software can always be used to correct inconsistencies in your photos’ color temperatures if you have used Auto White Balance and saved them to a RAW format.

Determining the Exposure
On the LCD screen there is a bar with a +3 and -3.
This is your camera’s light meter and guides you in determining your exposure. As you adjust your settings, like your shutter and aperture, this meter can help you get closer to where you should be, but as you practice you should additionally fine tune your settings with the use of your own eye. Producing consistent, quality photos in manual mode takes practice and time.
Final Thoughts
When shooting outdoors in brighter situations, keep your ISO as low as you can go comfortably and leave it there. Then increase the Aperture as high as your lens can provide. After adjusting these settings, you can then adjust your Shutter Speed to fine tune your exposure. Also consider using an ND filter, or Neutral Density filter, to limit the amount of light that gets through the camera to better control the exposure.
Shutter Speed and Aperture are the two settings you’ll be dancing between when shooting outdoors in brighter conditions.
However, when shooting indoors in darker conditions, the two settings you’ll be dancing between are usually the ISO and Aperture and you’ll typically be leaving the Shutter Speed alone.
Also keep in mind that there can be pros and cons to shooting at the widest Aperture of your lens. Typically lenses are sharpest in between the limits of their Aperture range. With many lenses you’ll probably find that you’ll get a sharper, crisper image when you are in the middle of its range. This is just another thing to keep in mind and experiment with as you continue on your journey in unlocking manual mode!
Canon 80D Body Only (Amazon): http://amzn.to/2d4FN8j
Canon 80D + 18-135mm Lens Kit (Amazon): http://amzn.to/2ctjJ6t
Canon 80D + 18-135mm Lens & Deluxe Accessory Bundle (Amazon): http://amzn.to/2d4FAlI
For a more in depth guide for using Manual mode, check out our free Ditch Auto Course: https://hillacademy.xyz/p/ditch-auto-start-shooting-in-manual

