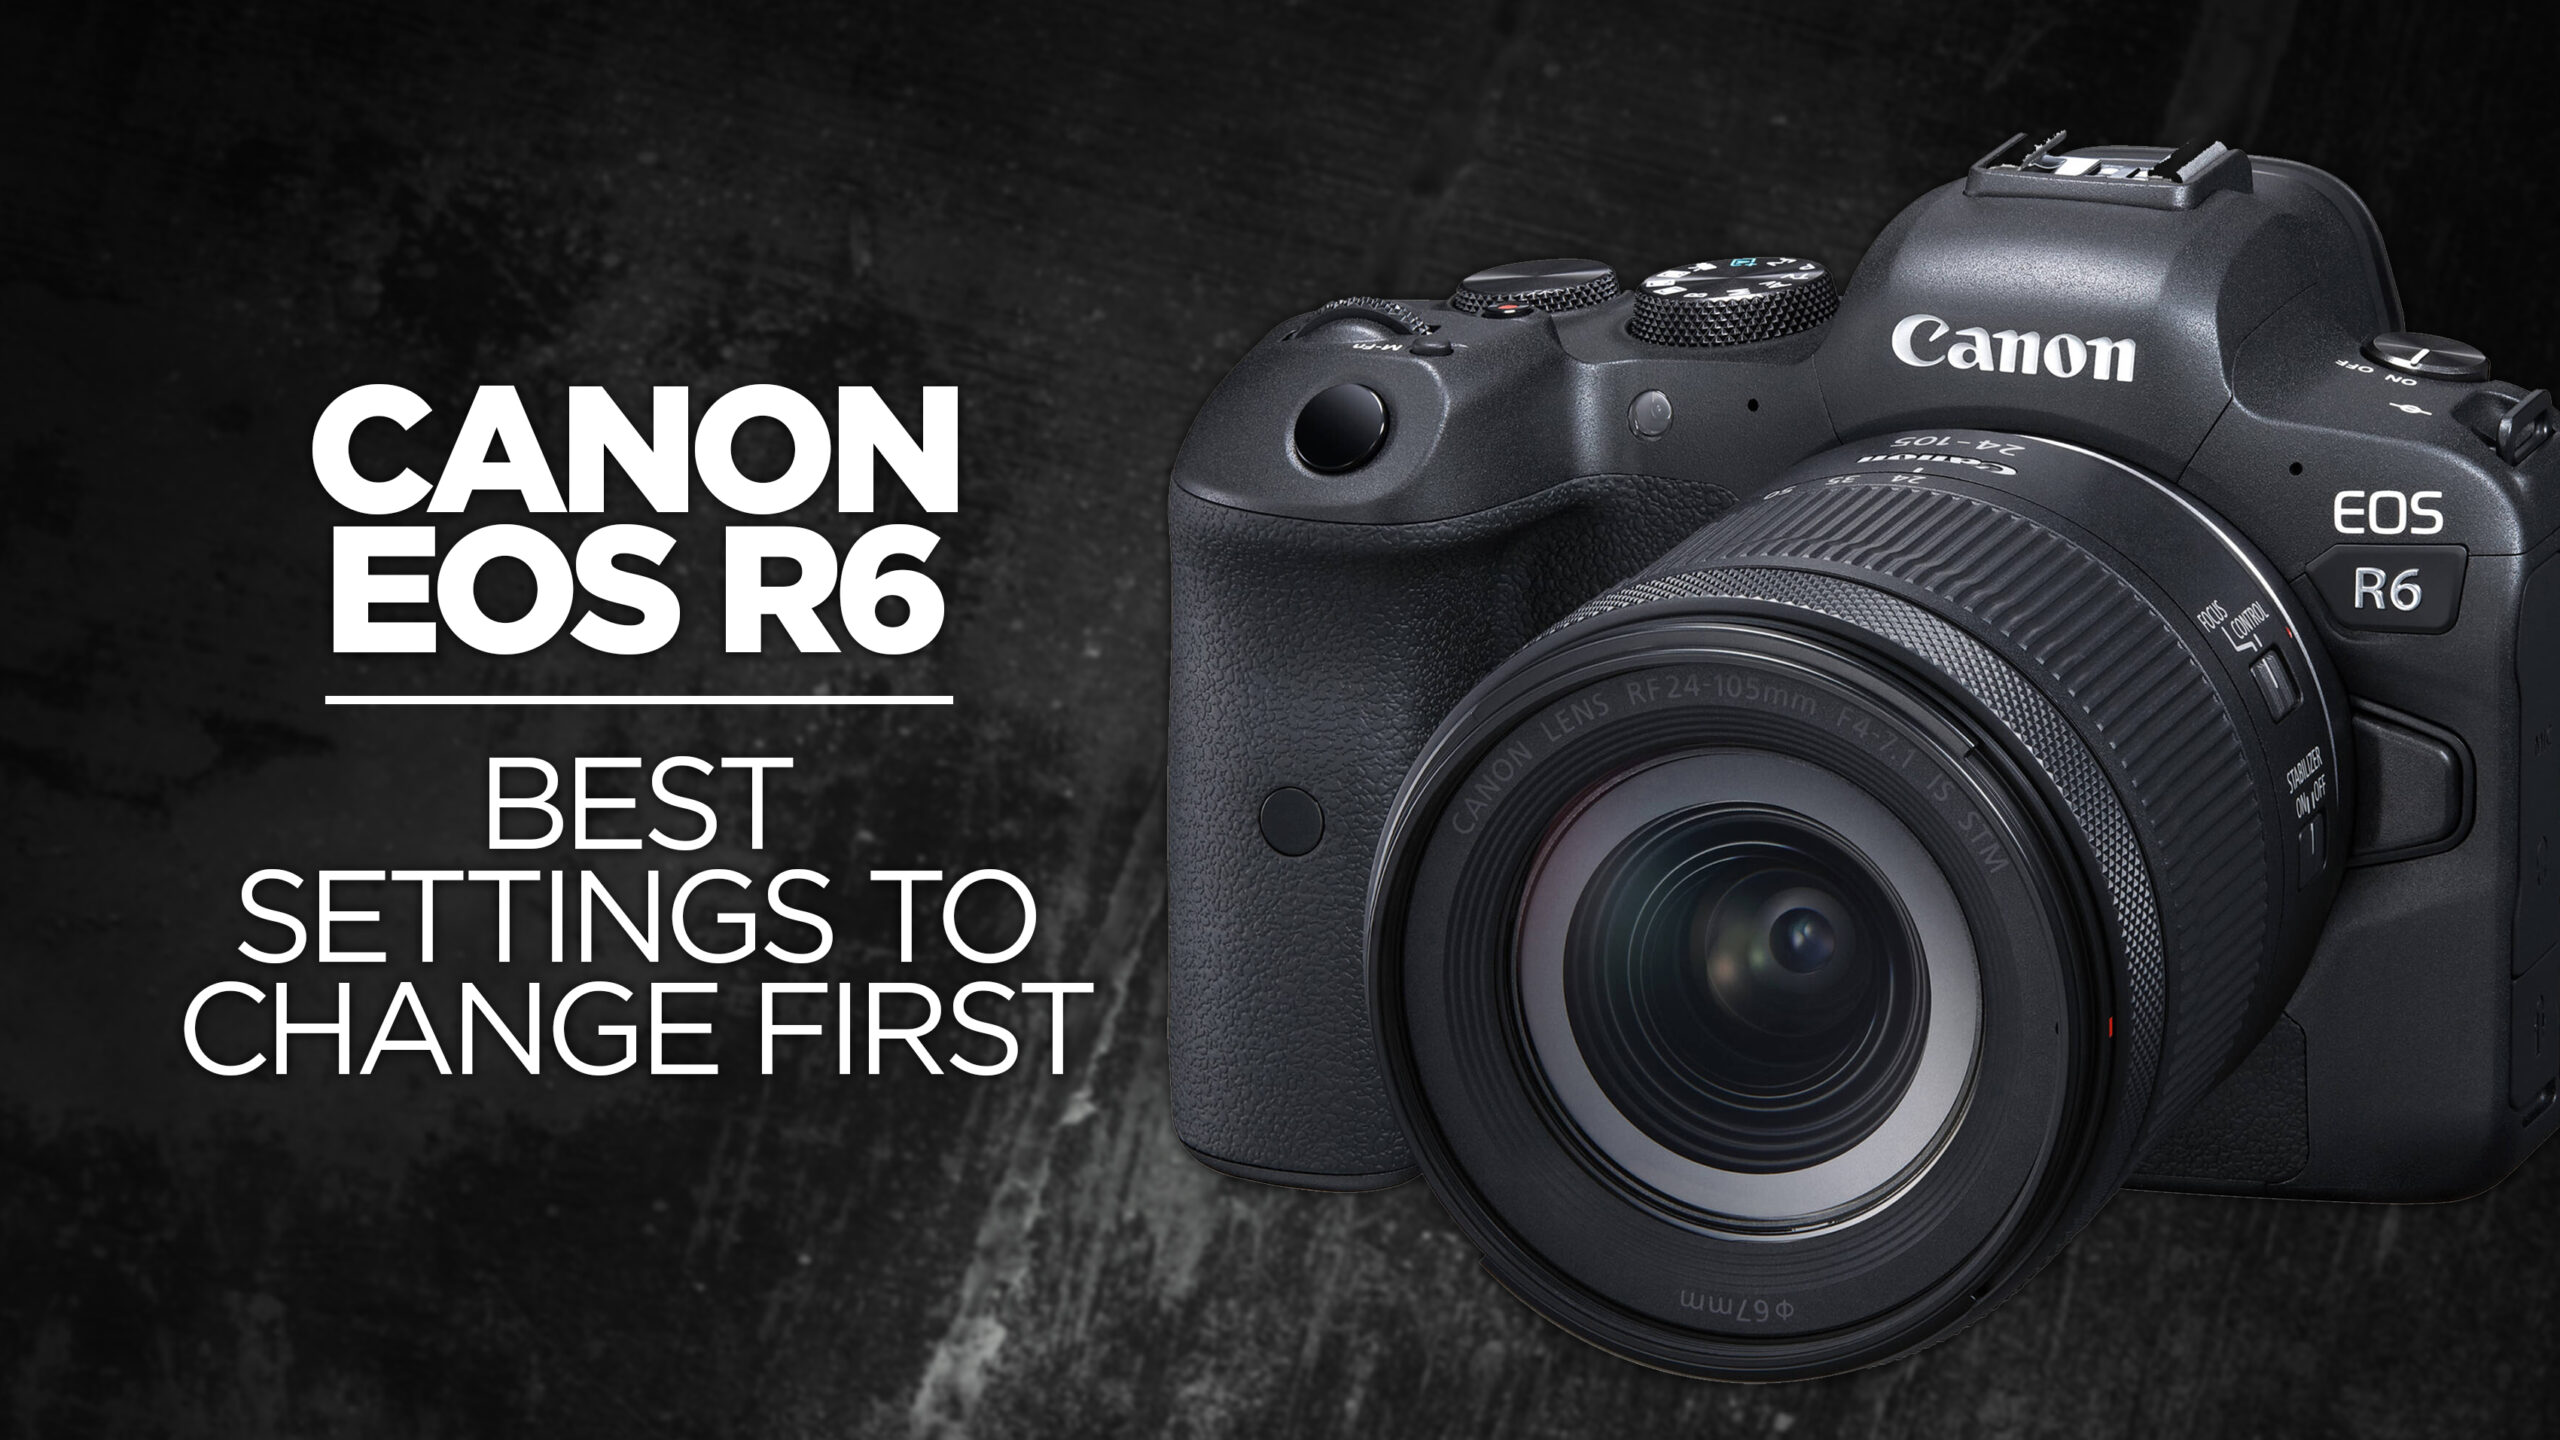
Although there may not be the usual dial for switching between shooting modes on the Sony Alpha a5100, rest assured the camera includes all the usual shooting modes plus some useful additions. Here are the available shooting modes with descriptions and best use cases for each on the Sony Alpha a5100.
To switch between shooting modes, press the Select button in the middle of the control wheel at the back of your camera when the camera is turned on, use the scroll wheel to select a mode, then press the Select button to switch to that mode. The available shooting modes are:
- Intelligent Auto (i)
Intelligent Auto mode will automatically detect the type of scene you are shooting and adjust accordingly. Once detected, an icon for the recognized scene will appear in the top right-hand corner of the screen.
Useful for: all-around shooting when you want to simply snap off some photos, with less emphasis on composing a specific desired shot. - Superior Auto (i+)
Superior Auto goes beyond scene type detection, including composite layering for higher dynamic range. Available only when shooting JPEG only.
Useful for: Similar situation as Intelligent Auto, but when the scenes you are shooting include a wide range of exposure, such as shooting into or out of shadow. - Program Auto (P)
In Program, the camera automatically sets the shutter speed and aperture, leaving the exposure adjustments left to you.
Useful for: intentionally creating under or overexposed photos. - Aperture Priority (A)
Aperture Priority gives you manual control of the aperture of your camera while automatically setting shutter speed and exposure. Adjusting the aperture gives you control of how much of your shot is in (or out of) focus.
Useful for: controlling the depth of field of your photos, to either isolate your subject by blurring more of the shot, or keeping more of the frame in focus. - Shutter Priority (S)
Shutter Priority automatically locks in the exposure and aperture for you, and you manually control the shutter speed. This is a great creative tool to either add or subtract movement from your shots by using slower or higher shutter speeds, respectively.
Useful for: when you want to add or remove motion in your photos by slowing or speeding up the shutter speed. - Manual Exposure (M)
Manual Exposure puts you in control of all three of the main adjustments: shutter speed, aperture, and ISO. Auto ISO can be used in Manual mode.
Useful for: control freaks. Or simply in situations when you know better than (the automatic adjustments made by) your camera. - Movie (film icon)
Although capturing video is available in any mode using the MOVIE button to begin recording, setting the camera to Movie mode makes changing video record settings easier. There are four shooting modes within movie mode. In Movie mode, press the Select button to switch between:- Program Auto automatically selects shutter speed and aperture, leaving the exposure adjustment to you.
- Aperture Priority gives you control of aperture while setting exposure and shutter speed automatically.
- Shutter Priority, as you might expect, adjusts exposure and aperture, leaving you to adjust shutter speed.
- Manual Exposure, finally, gives you control of all three: exposure, aperture, and shutter speed.
- Sweep Panorama (pinched-in rectangle icon)
Sweep Panorama is a built-in panoramic photo creation mode. With Sweep Panorama shooting mode selected, press the shutter button, then slowly rotate the camera to the right. The camera will take multiple photos and stitch them together into a single, ultra-wide panoramic photo.
Useful for: Capturing more than what a single frame can offer. - Scene Selection (SCN)
Scene Selection lets you select the scene type that is most like the environment you are shooting.
Useful for: getting the benefits of auto mode in a known scene setting.
Scene types include:- Portrait
- Sports Action
- Macro
- Landscape
- Sunset
- Night Scene
- Hand-held Twilight
- Night Portrait
- Anti-Motion Blur

