Some of the most fun you can have with your camera is shooting time lapses. Today, we’ll be looking at how to shoot a time lapse on the new Canon EOS R6. This article will include how to set your camera up to take a time lapse, my recommended settings and lenses, and some tips and tricks to really make your time lapses stand out. If you’d prefer to watch instead of read, you can watch my whole video on the Gear and Light YouTube channel here:
Shoot In Manual Mode
Before we even enable interval mode to set up our time lapse, we need to talk about how important it is to use manual mode when shooting time lapses. Manual mode allows you to change all of your camera’s settings to get the best looking images. If you leave your camera in one of the automatic modes, it’s going to be constantly readjusting and changing settings throughout your time lapse. This may not be a big deal in some situations, like if your time lapse is shorter and the lighting is consistent, but in many cases it’s going to make things a lot simpler to just use manual mode to set your exposure settings.
Another addition to using manual settings is making sure you set a fixed white balance. This is going to make sure that your colors stay consistent as well. If you leave your white balance set to auto, any change in lighting will result in a change in the color temperature of your shot as well.
Stabilize Your Camera!!!
Another vital component to a high quality time lapse is a stabilized camera. If your camera moves, even slightly, during the time you’re shooting your time lapse, your footage will end up looking shaky and unprofessional. We’ve all seen those time lapses where the camera is wiggling around and being adjusted the whole time. It just looks… Not great. I recommend throwing your camera on some form of tripod or a very secure place to keep it as still as possible. If you have a remote trigger for your camera, use that too. That will make sure there’s no wiggle from you pushing the button at the start of the time lapse. It’s also important that you keep your hands off of your R6 until the time lapse duration is complete. Again, we’re looking to keep the camera as still as possible.
Lenses
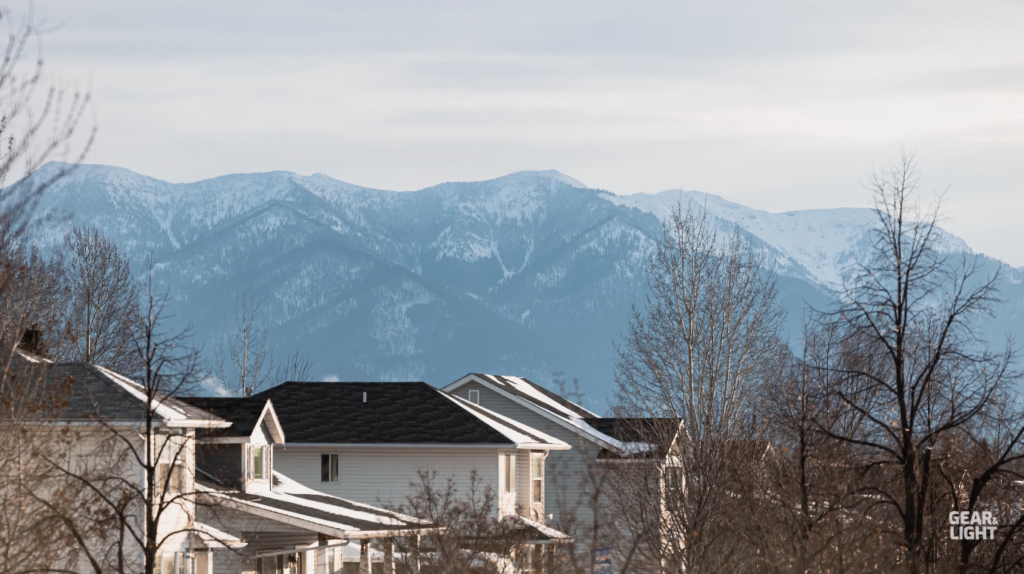
Wide angle lenses are typically the standard for time lapse lenses. There are certainly circumstances where you would want something different like a telephoto lens, but a wide angle lens is going to give you the most bang for your buck most of the time. The best way to know which lens will be best and is to get out there and start trying things out. Here’s a morning Timelapse I did where I used a telephoto lens to really zoom in on the mountains in the background.
Settings
Now that we’ve gotten some of the basics out of the way, let’s jump into the settings and get our shot set up. The first thing you’ll want to do is go into the shoot 6 settings page in your menu (pictured below,) and change the interval timer option from disable to enable.
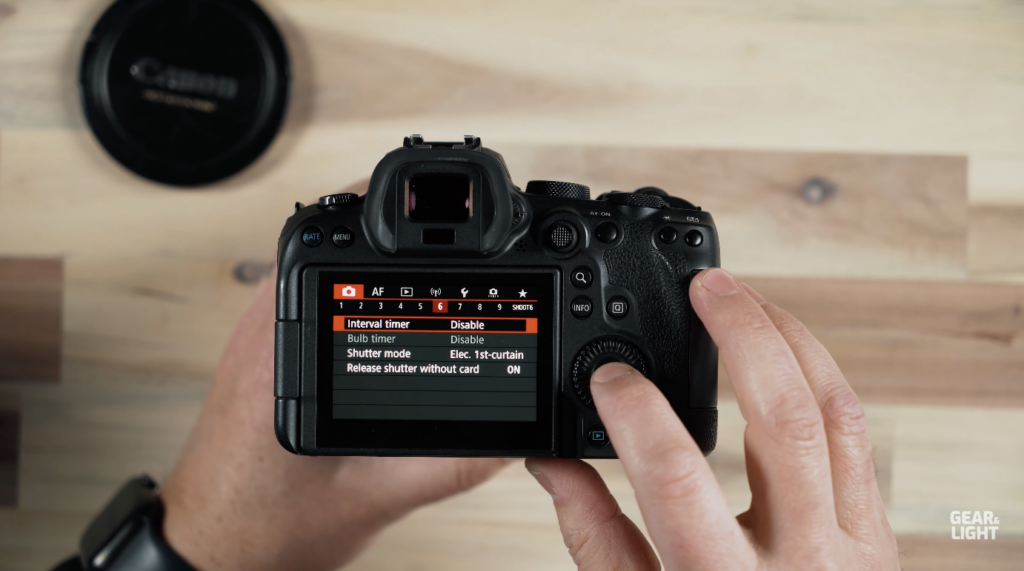
From that page, push the info button, which will pull up further settings regarding the interval shoot. This page is where we’ll set our interval and the number of shots. The interval setting refers to the length of time in between each shot the camera takes in your time lapse. The number of shots setting will tell the camera exactly how many pictures to take before ending the time lapse.
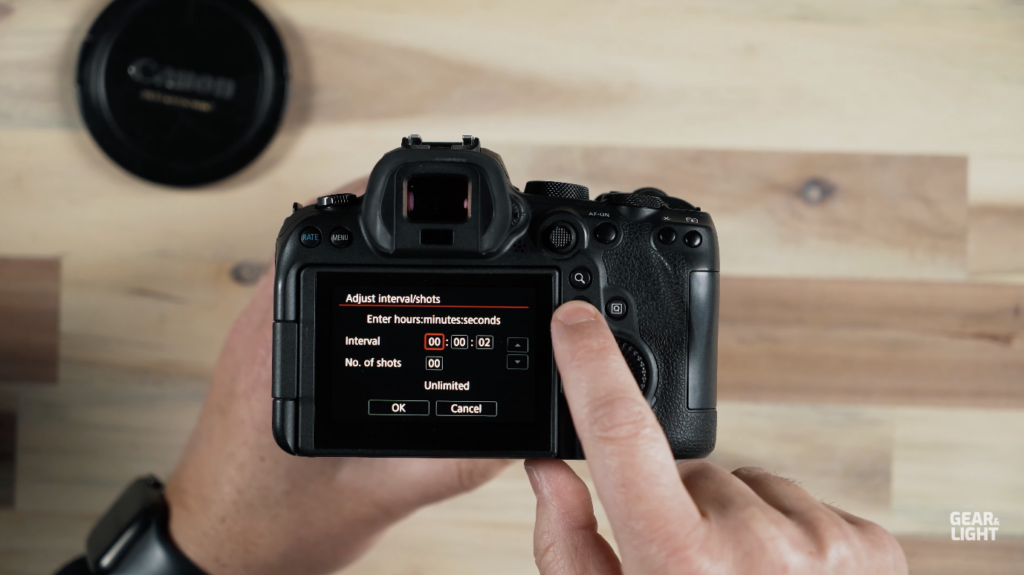
To get the best looking time lapse for the right period of time, you’ll need to do just a bit of math. Now, the standard number of frames per second in a video is 24. This means that your camera will need to take 24 pictures in the time lapse duration to get a one second video.
To calculate the number of shots your camera will take, multiple your desired time lapse length by 24. This will give you the total amount of photos you will need to take. Your interval setting multiplied by the total number of shots your camera is set to take will tell you how long it will take for the camera to finish shooting the time lapse. For example, if you are shooting a 10 second video at an interval of a 5 seconds per photo, it will take 1200 seconds, (20 minutes,) to complete the time lapse. If you wanted a shorter completion time for the time lapse, you could either shorten the interval setting or have your camera take less pictures. Getting a feel for the best interval time takes a bit of time and practice. The best way to get used to this is to just get out there and start experimenting.
Focus
To get the best looking video, you’ll want to set your focus manually. If you leave your focus set to auto, your camera will attempt to achieve focus with every photo it captures during the during the duration of the time lapse. This means that it may change the focus if there is movement in your shot. Any change in focus will result in jerky looking time lapses and the quality will be significantly worse. The easiest way to get around this issue is to set the focus manually on whatever you would like to be in focus.
Power
If you are shooting a longer time lapse, you’ll need to provide a power source. It would be a huge bummer if your camera died half way through an epic time lapse. The easiest option for this is to plug your camera into an outlet via a USB-C cable. This will continually charge your camera while it’s still turned on and shooting. If you’re out in the wilderness or don’t have access to an outlet, I highly recommend taking an external battery pack with you to maximize your battery’s lifespan.
Stopping the Interval Shoot Early
There are two main ways to stop an interval shoot early. The first is to just turn the camera off. This will save the photos the camera has already taken and then turn off. The second option is to change the camera mode with the mode dial. I typically prefer to just flip the power to off and then turn it back on. This will automatically re-disable the interval shoot mode, and you’ll be ready to operate your camera normally again.
Final Thoughts
Time lapses are a blast and they’re a great way to add some spice to what you typically shoot. If you’re interested in learning more about your Canon R6, check out these other videos on the Gear and Light YouTube Channel:
