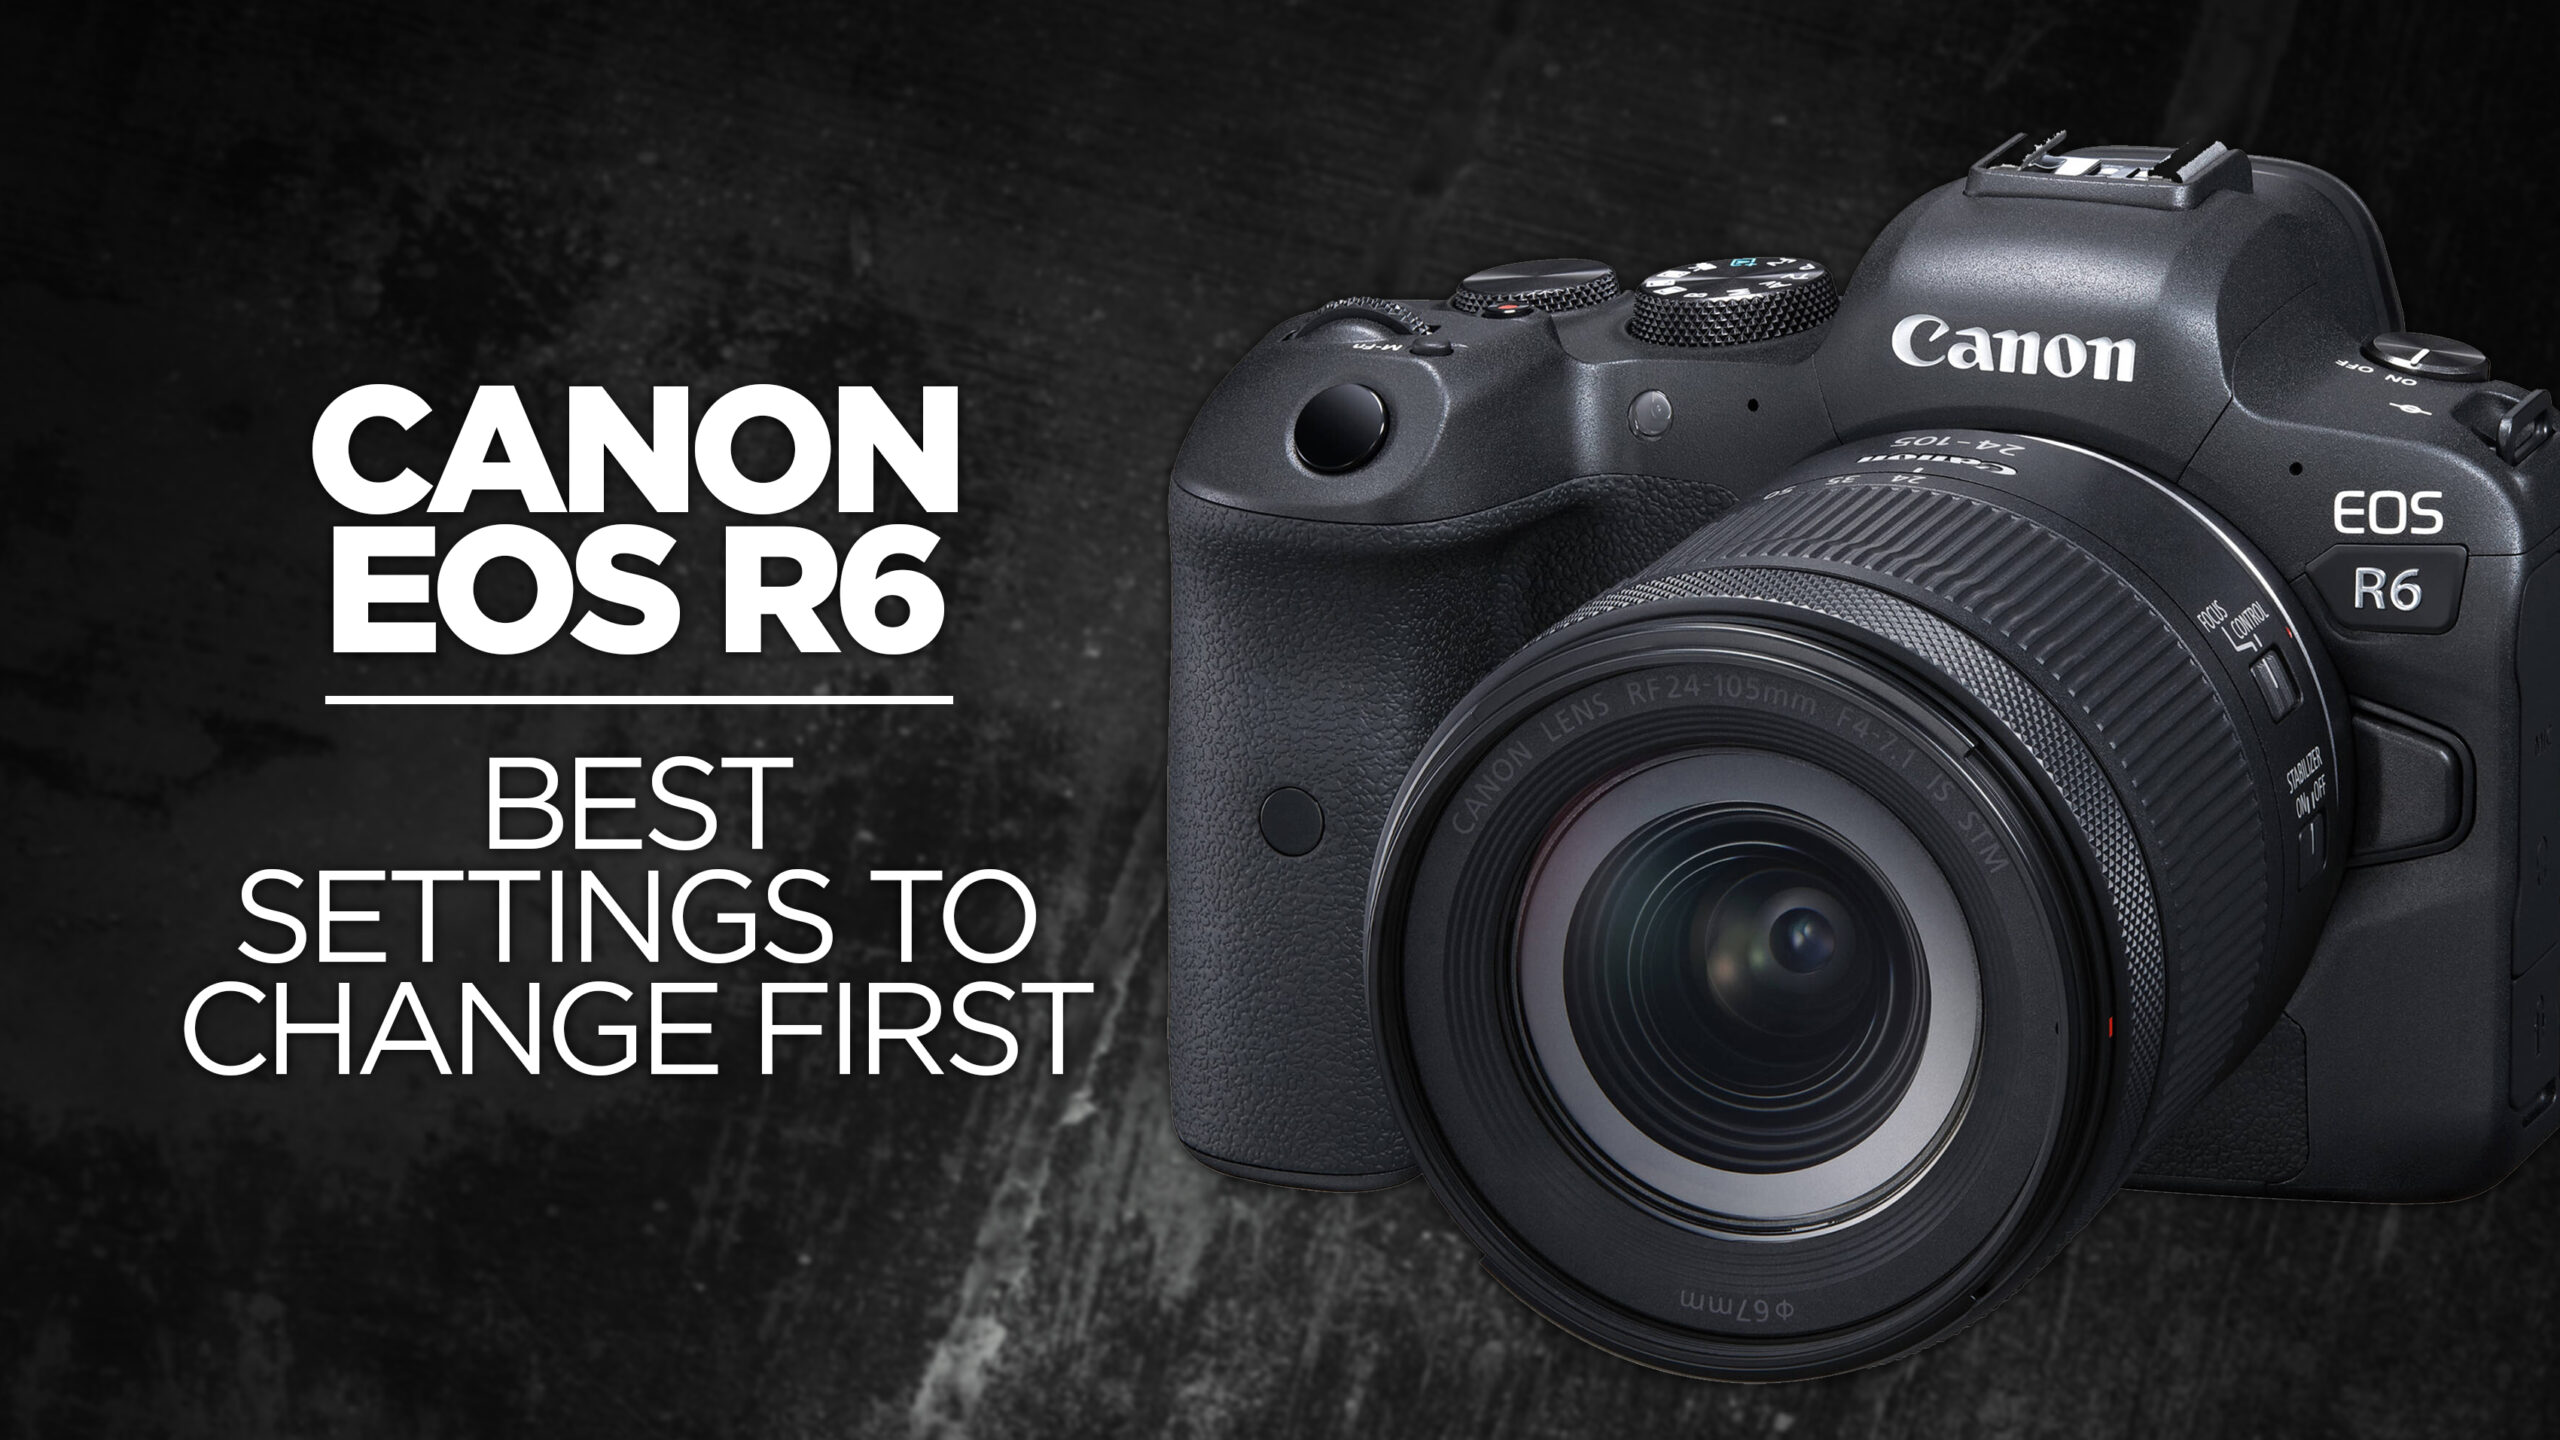
DSLR Cameras are quickly becoming the de facto standard for entry-level cinematography ever since the addition of video recording. No longer relegated to just photos, SLR cameras can now be used to take full HD resolution video using high quality lenses and sensors. Even for higher budget productions such as for television and movies, the flexibility and compactness of DSLR cameras makes for a great cinematic tool. As a capable entry into this new medium, here’s how to use the Canon Rebel T6i to create beautiful footage using Movie Mode:
To enter Movie Mode, switch the ON/OFF power toggle past the ON setting to the camera icon. Let’s first configure our settings for Movie Mode:
In movie mode, open the settings menu. You’ll see that the fourth and fifth tabs have changed icons. These are where your movie mode settings can be adjusted:
- AF Method. This is the method of autofocus used during video recording. There are three options: Face + Tracking keeps the focus point on faces if detected, FlexiZone Multi focuses on a wide area of up to 31 AF points that can be either automatically or manually selected, and FlexiZone Single lets you focus on a single point in the frame.
- Movie Servo AF can be enabled or disabled to either allow or prevent autofocus during video.
- AF with Shutter button during movie recording toggles between enabling or disabling autofocus using the shutter button while recording video.
- Grid display shows a grid on the screen of your choosing: off, 3×3, 6×4, or 3×3 + diagonals.
- Metering timer changes how long the exposure setting is displayed.
- On the second video settings tab, Movie recording size adjusts the recording resolution, framerate, and compression level of your videos:
- Full HD (1920x1080p) at 29.97 FPS.
- Full HD (1920x1080p) at 29.97 FPS with light compression.
- Full HD (1920x1080p) at 23.98 FPS.
- HD (1280x720p) at 59.94 FPS.
- HD (1280x720p) at 29.97 FPS with light compression.
- VGA (640x480p) at 29.97 FPS.
- VGA (640x480p) at 29.97 FPS with light compression.
- Sound recording menu:
- Sound recording can be set to auto, manual, or disable.
- Recording level gives you a slider to change the volume of your recordings.
- Wind filter/Attenuator lets you enable or disable either of these options. The Wind filter reduces wind noise through the built-in microphone, and Attenuator will adjust the recording level before filming to fit the ambient noise level of your environment. When enabled, the recording level will be adjusted even if the Sound recording option is set to manual.
- Video snapshot is a feature that lets you take short video shots during normal camera operation that can be strung together to make a short highlight reel. To begin recording a movie, press the START/STOP button while in movie mode. You will see a red dot icon in the top right of the screen to indicate that video is being recorded.
Some tips for using Movie Mode:
- Before recording, focus can be set by default using a shutter button half press. This will use whatever the current autofocus mode is.
- In Movie mode, ISO is adjusted automatically between 100 and 6400 unless in Manual mode.
- In Manual shooting mode, ISO can be adjusted using the ISO button and set as needed.
- Still photos can still be taken while filming by fully pressing the shutter button, but taking a photo while filming will pause the video recording for approximately 1 second.

